Using Docker for Dashboards at dxw

The dxw office is full of screens: on the desks, on the walls, everywhere. The ones on the walls show useful information: who’s working on what, the health of various sites and services, and data visualisations.
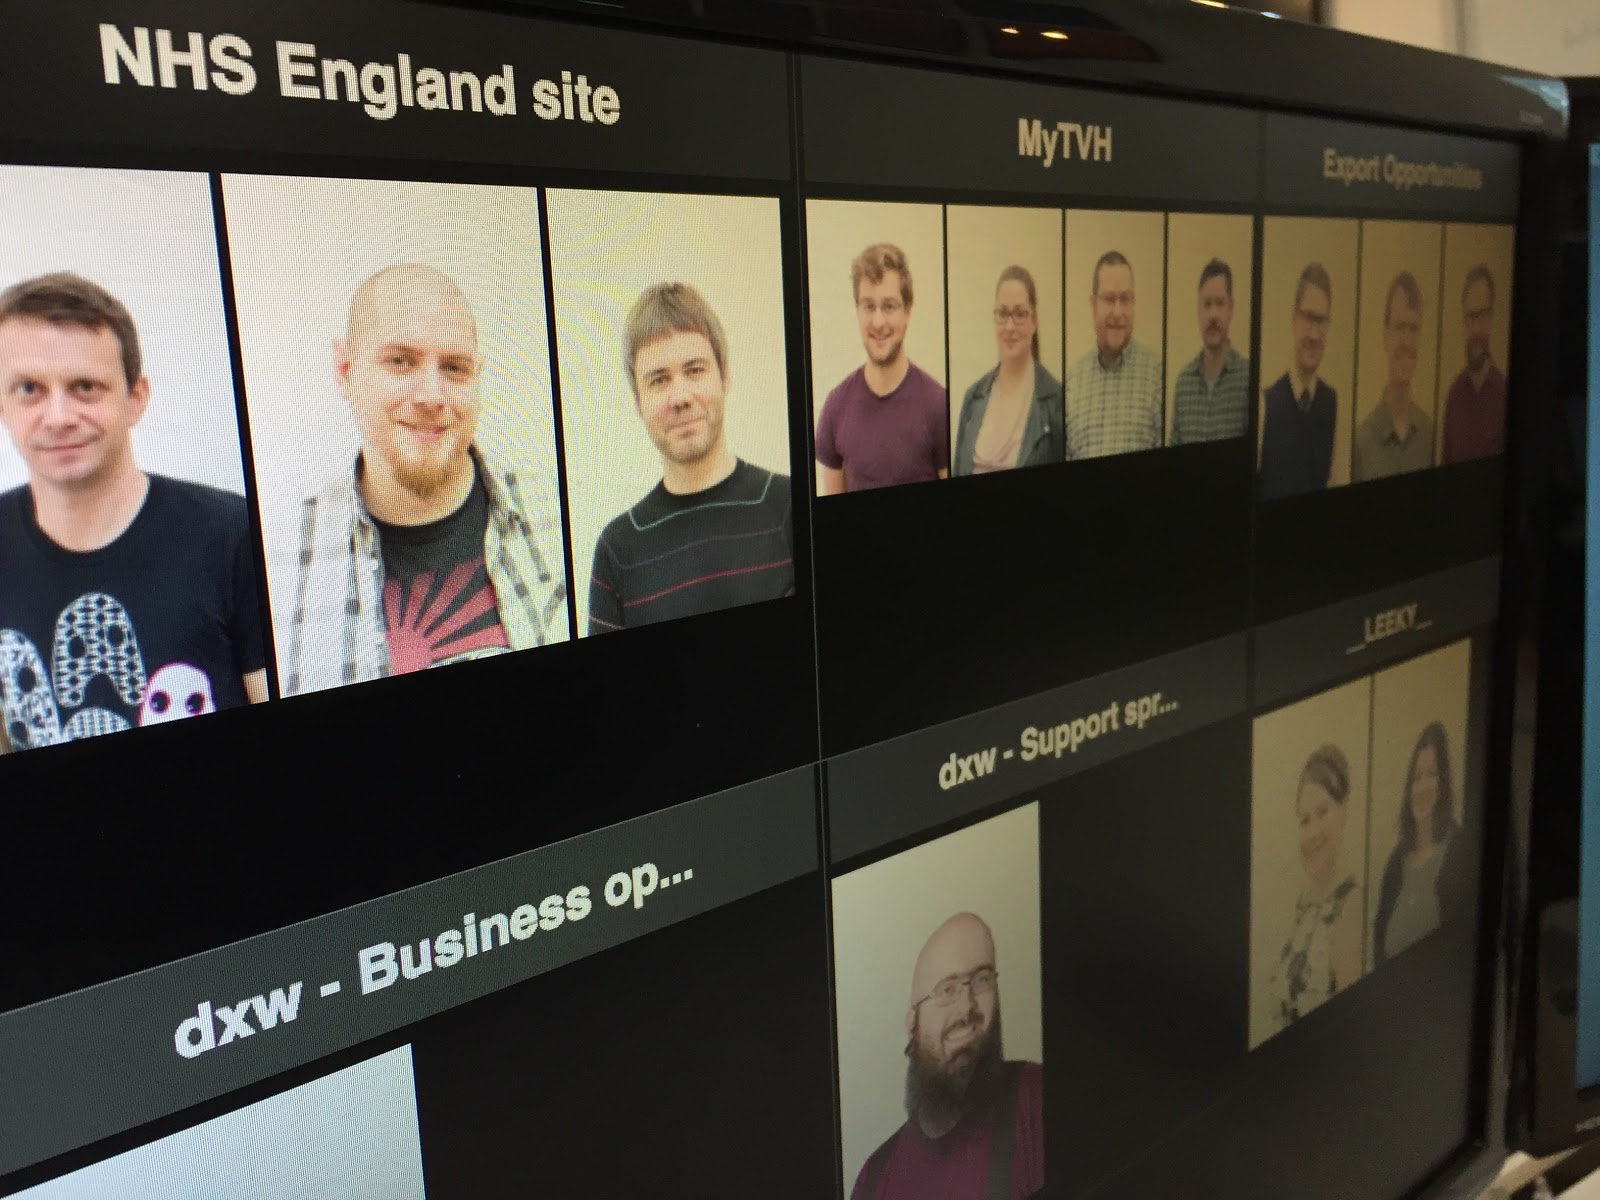
Because these things have grown organically over time, they’re awkward to manage. They are all written in different languages and run on different platforms. An unorthodox PHP script on a Raspberry Pi powers our rogues’ gallery of who’s doing what. A helpful but flaky Ruby app running on someone’s dev machine warns us of support tickets on Zendesk that are about to breach our SLA. A Chromebox pumps out uptime information from Nagios. We have great plans, too, for visualising client data using tools like Grafana, but we are reluctant to make matters even more complicated by adding apps and servers.
This kind of setup is not easy to tinker with. If you want to make a change to one of the dashboards, you need physical access to the machine running it. And when you come to deploy, there’s extra legwork to make sure what is already running on the box is the same as the code in the git repo. If there is a git repo.
Before adding more things, we needed to make things more consistent. Each app should be runnable in isolation so devs could work on it, but apps should also be able to depend on each other. For example, one app could push data into a database and another app could read it out. While we’re at it, we should also be able to run the whole set of apps together, locally, with all their interdependent parts wired up.
During our Firebreak in December, we managed it, with the help of Docker and the docker-compose tool.
What we built
When we began this project I knew nothing about Docker. Having given it a try, I like it and would encourage others to use it. Yes, it’s big and complex, but it’s possible to get a lot done without knowing exactly how it works under the hood thanks to well-written documentation and a wealth of tutorials online.
We used Docker to arrange:
- all our apps running on a web server in individual, sandboxed environments
- a router on top of them that maps paths to apps, so we can visit http://stats.dxw.net/schedule and see the staff schedule dashboard, or https://stats.dxw.net/github and see our open GitHub pull requests displayed by Fourth Wall.
Visiting / on our server brings up our simplest app, the menu. It displays a webpage with links to all the other apps, and it consists of a single PHP file.
Like everything else on the server, it’s a Docker container.
What it means to be a Docker container
This has been covered extensively elsewhere on the internet, but briefly: Docker lets us bundle up an app and its environment into a single executable called a container. That is, to run our PHP app, instead of installing and configuring apache or nginx and php-fpm on the host system, we can bundle those things together with the application code and call docker run to make it go.
Containers are made from images, so for all practical purposes preparing an app for Docker means turning it into a Docker image. To make an image, you add a Dockerfile alongside the application code. Here is the entire Dockerfile for the menu app:
FROM php:7.1.0-apache
COPY src /var/www/html
This creates a Docker image for the app based on a stock php/apache image, with the contents of the src folder from our app added under /var/www/html.
Note that php:7.1.0-apache is itself expressed as a Dockerfile in the official Docker repositories, and that in turn is built on a debian:jessie Dockerfile. That is built on a special empty Dockerfile called `scratch` which exists only so that you can write `FROM scratch` in your Dockerfile.
A few good things about docker-compose
Docker on its own does not do everything we need, but docker-compose adds lots of good and useful features. Here are three examples: it’s easy to add and remove containers, it’s easy to set up environment variables, and it’s easy to run a local copy of the whole server.
docker-compose makes it easy to add and remove services
With our app containers in hand, we could put them on a VPS, put a web server in front of them, and tell the web server to proxy all incoming requests to the right app.
One problem: it’s really awkward to maintain.
For example, let’s say you have all your containers running side by side on this VPS. You probably want to discriminate between them by running them on different ports: App A running on port 8000, App B running on 8001 and App C running on 8002. You have to address these apps by port, and every time you add another container you have to add another port and another mapping. That’s exhausting and confusing!
docker-compose makes this problem go away by handing out hostnames for our containers and allowing them to address each other using Docker’s internal DNS service.
So instead of configuring our nginx container to address the menu container like this:
location /my-menu-container {
proxy_pass http://localhost:8001
}
We can tell it to use its name, e.g. http://my-menu-container/.
location /my-menu-container {
proxy_pass http://my-menu-container
}
This is very flexible: we can add and remove services at will and Docker will assign hostnames for all of them. Hostnames we choose!
Our nginx configuration lives next to our docker-compose file in a GitHub repo, so all the configuration code to add a new container and the associated routing fits into a single pull request. A few lines of documentation in the repo explain to new developers how to update the config for a new container and how to deploy their changes when they’re done.
docker-compose is good at managing environment variables
Alongside the nginx configuration and the docker-compose file in the repo we have a folder called /env which contains APP_NAME.env.example files for all the associated apps. The convention we’ve adopted is to copy those to APP_NAME.env files in production and populate them with necessary environment variables. Docker Compose picks up the appropriate variables when it runs each app and injects them into the container. Nice!
docker-compose makes it easy to reproduce the whole environment
Because our set of apps is expressed in the docker-compose.yml file, it’s trivial to set up an identical clone of the server on one of our dev machines. docker-machine constructs a VirtualBox-backed VM with nothing but docker installed on it, so setting up a local copy of production is simple:
$ eval “$(docker-machine env stats)”
$ docker-compose up
Then you can visit your local VM in your web browser (docker-machine also makes this easy) and you have a perfect clone of the production server in front of you.
Some less good things about using Docker and docker-compose
We’re happy with the setup we have: the learning curve is fairly shallow and it’s easy for a developer to get set up with Docker and docker-machine. That said, there are a few wrinkles:
- Once you’ve built a container, you can’t change what’s inside it without rebuilding it. This is fine most of the time because you don’t build your image until you’ve finished developing, but it can be irritating when debugging a relationship between two containers.
- There’s an extra step to deployments because images arrive on the server via Docker Hub. Pulling images from Docker Hub doesn’t have to be a manual process, but there is extra work to automate it.
- Deployment, in general, is fiddly. To upgrade a container we have to SSH into the server, tell docker-compose to take down the container, tell Docker to delete it and delete its image, then start up docker-compose again and let it pull down the latest version. It is not clear whether restarting one container in docker-compose entails downtime for the others, and running the rm command during deployment, even in the context of docker rm, feels ungood.
- Configuring environments in Dockerfiles feels odd sometimes: for example, the process in the container always runs as root and utilities like Composer object to that. Rightly, I think.
What’s next
Having live data up on the office walls has already sparked conversations about which metrics we and our clients care about. Changes and fixes to our original dashboards are trickling in, and new ideas are surfacing too. Thanks to Docker it’s straightforward to make those changes.
There’s certainly still work to do on the deployment process. And because the technology is new to most developers, we’re trying to maintain really good internal documentation. But we’re definitely moving forward. And we’ve just taken delivery of some more wall-mounted monitors.